DIY lash application is the perfect option if you've ever wanted to obtain amazing lash looks at home without visiting a professional. From perfecting the cat eye volume lash to extending the life of your lash clusters, anyone can learn to apply lashes at home with the appropriate equipment and techniques. Keep reading our blog, and here we will guide you to the essential steps and share some tips and tricks to help you create a lash look in the comfort of your home even if you are new to the world of lashes.
Essential Tools for DIY Lashes
Before applying your lashes, get those tools prepared. There are three essentials you must have for DIY lash application:
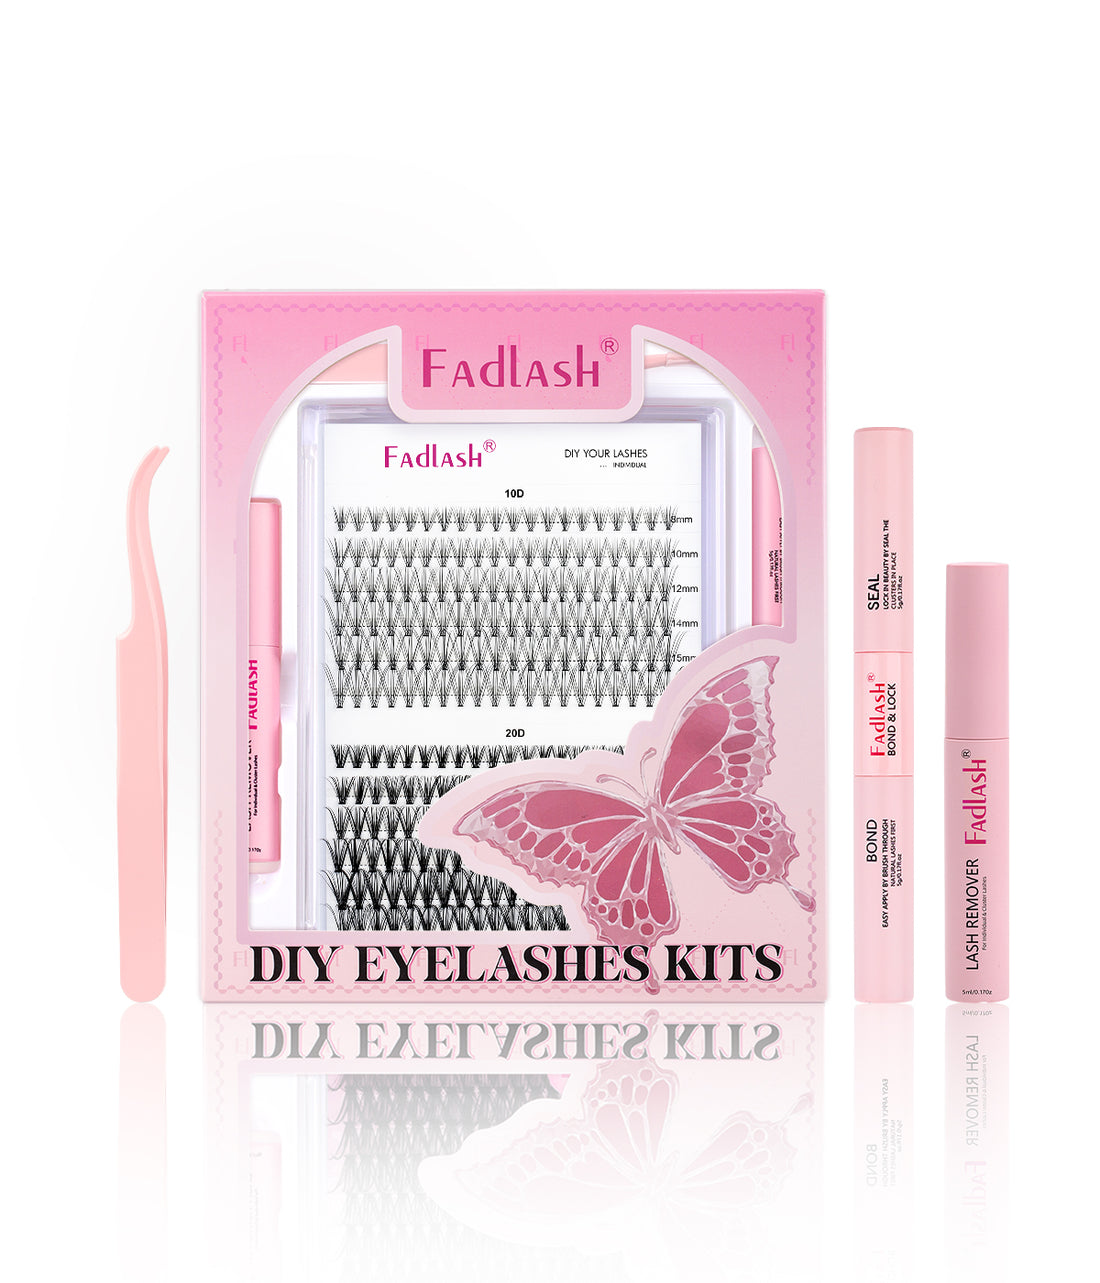
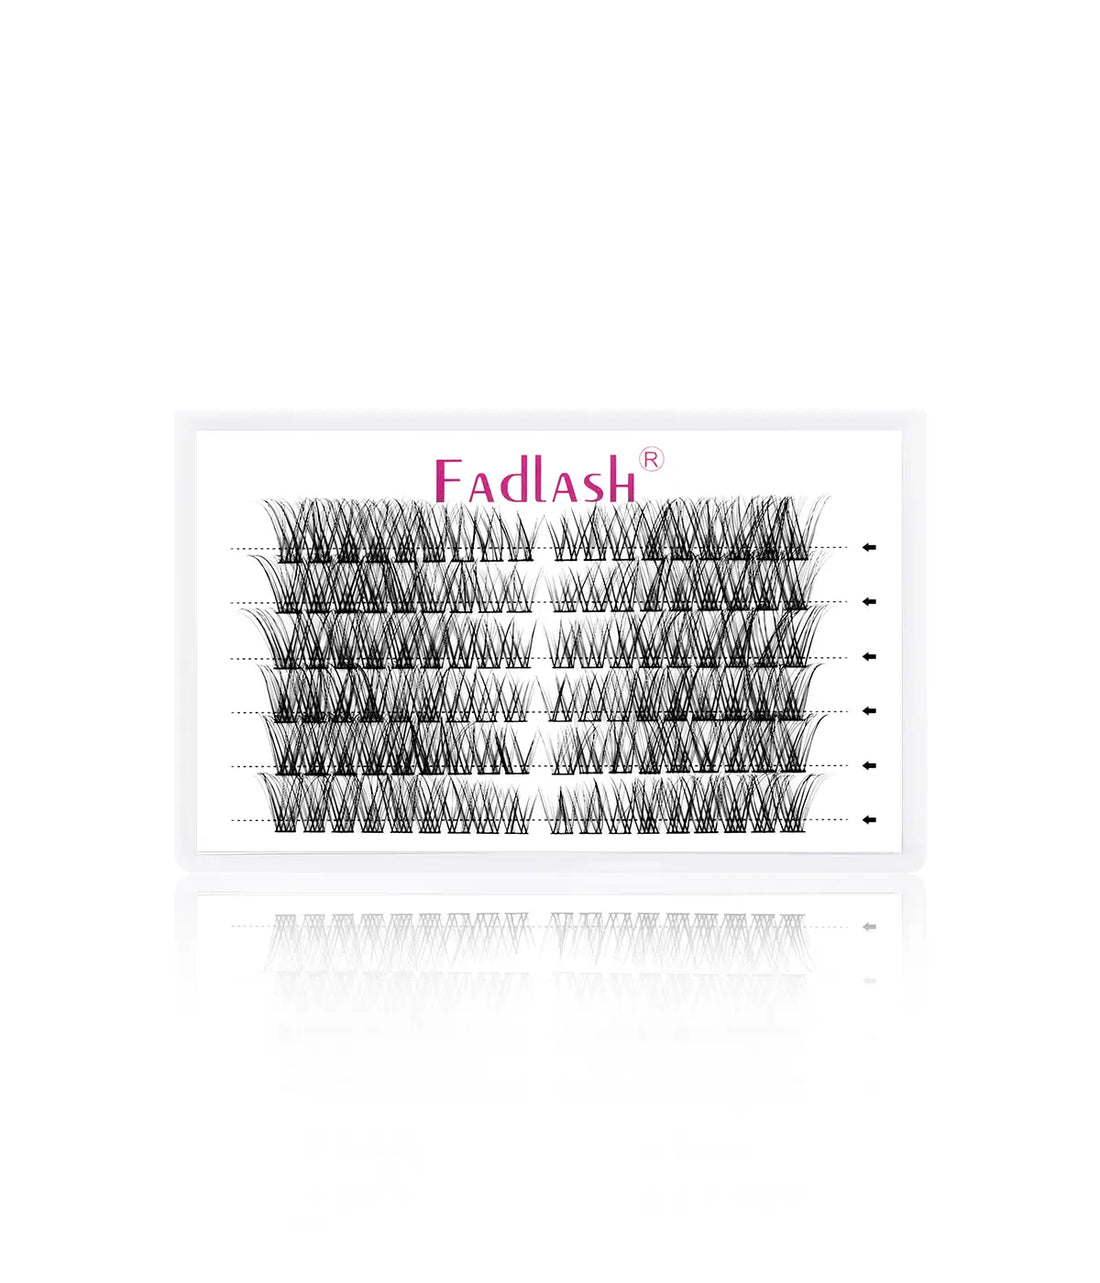
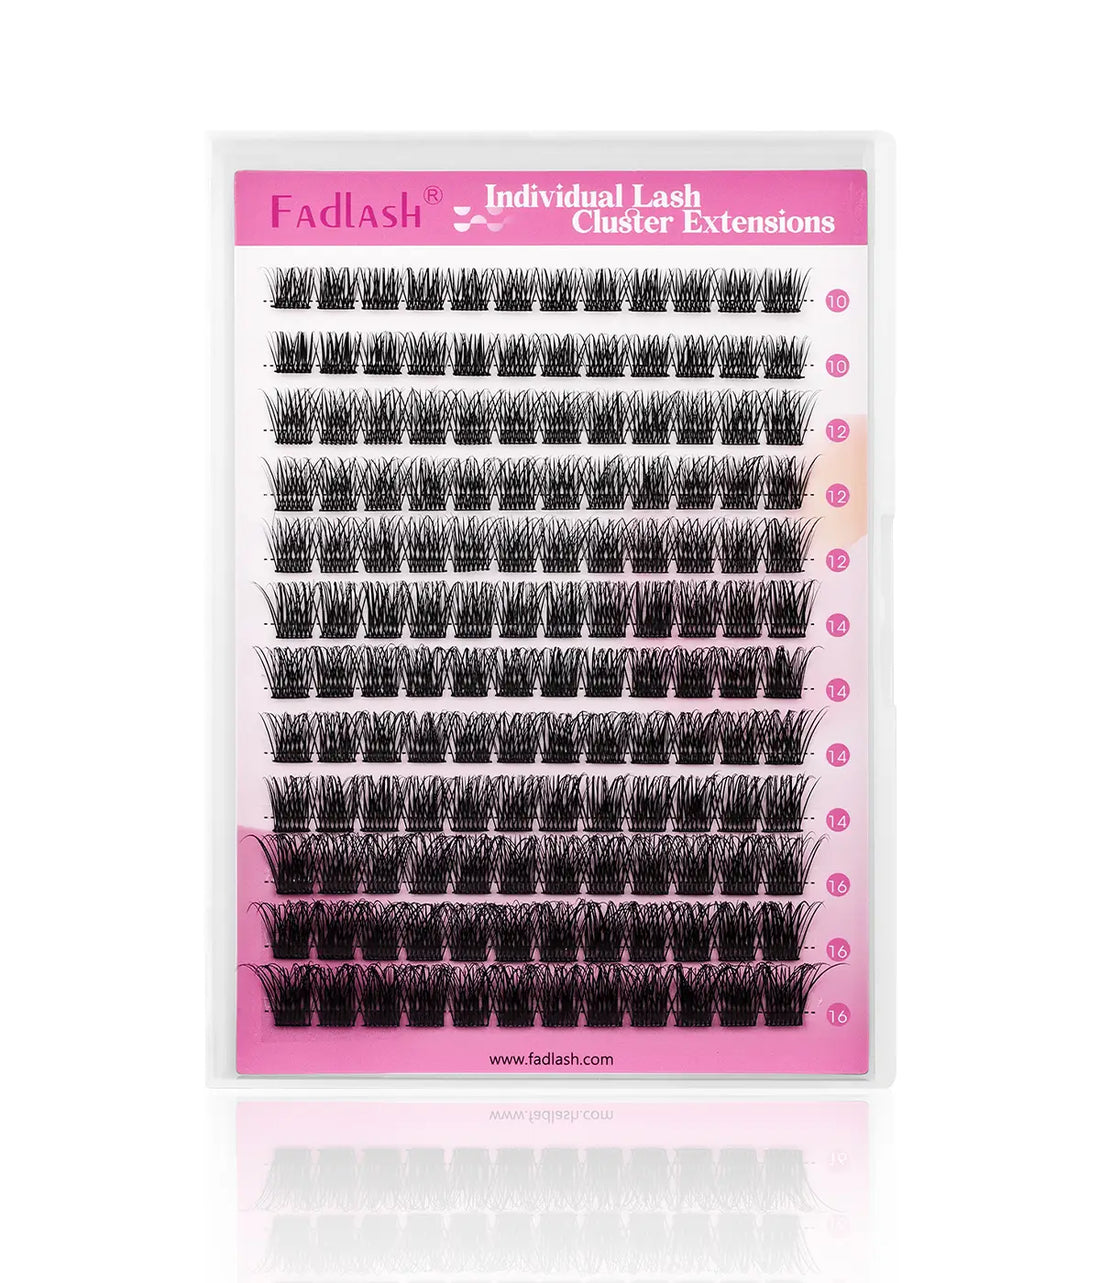
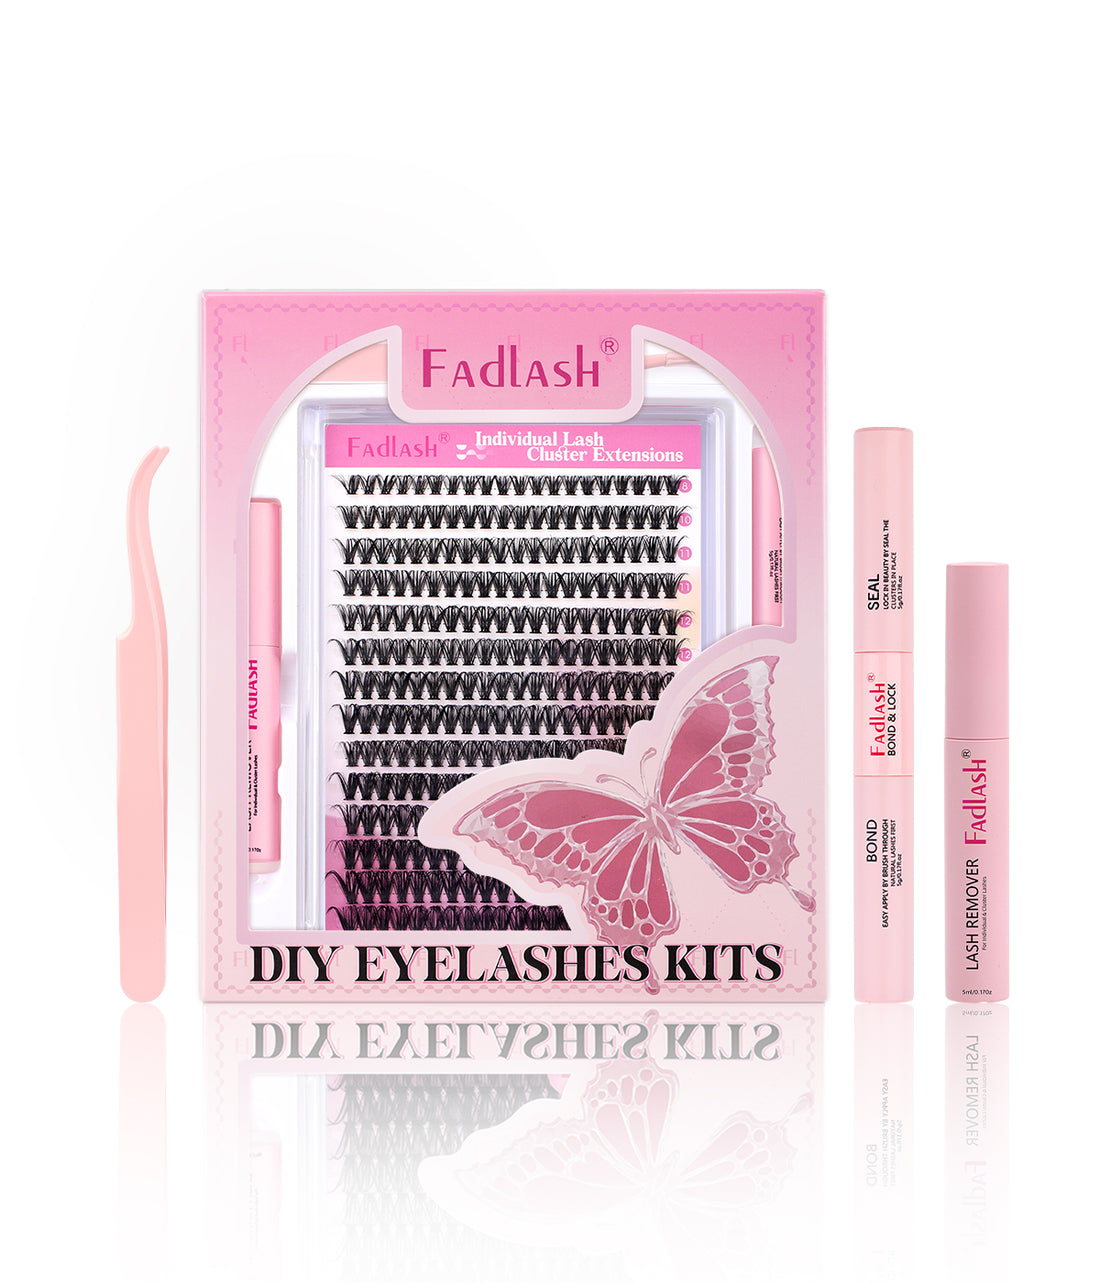
Lashes: Numerous brands are offering lash clusters. At Fadlash, we recommend our high-quality "4-in-1 Lash Kit," which has everything you need for a lash application. including lash cluster, lash remover, lash applicator, and lash bond and seal.
Lash Applicator: The precise tool is key to a smooth and easy application. Our lash applicator enables you to pick up and put on lash clusters easily, ensuring that each lash is exactly where you want it.

Lash glue: Depending on your skin type, local environment, and humidity levels, selecting the right adhesive might be challenging. Try a variety of glues to see which one best meets your needs because some work well for some people but not for others.
A user-friendly bond and seal that may last between 2 and 7 days is perfect. Remember, this is not professional salon glue; it is designed for at-home usage, so while it is simple to apply and remove, it will not stay as long as lash extension adhesive.
Look for a formula that is vegan, long-lasting, easy to use, and softly removed? Our Long-Lasting Lash Bond & Seal offers a firm hold while being gentle on your natural lashes.

Additional Tools (Optional but Helpful)
While the essentials above are non-negotiable, there are a few other tools that can make the process easier and more efficient:
- Lash Sealant: A lash sealant can help extend the longevity of your lashes and eliminate stickiness. You can apply the sealer to the inside of your lash applicator, then pinch the lashes together for an even coat.
- Remover: When it’s time to take off your lash clusters, a good oil-based remover, like Fadlash Beauty lash remover, works wonders.

-
Mirror: Applying lashes precisely might be aided with a close-up mirror.
How-To: Guide for Applying DIY Lash Extensions
Step 1: Get Your Lash Ready
Cleanliness is one of the key factors that is easy to ignore, which can keep your lashes last for a long time.

Make sure your lashes and eyes are clean and oil-free before putting lashes on with our lash shampoo.

Step 2: Double Bonding for Extra Hold
For better hold, double bonding is a popular technique. Apply a small amount of glue to the base of your natural lashes—be careful not to apply it like mascara, as this can create clumping. Next, take a lash cluster and brush glue onto the cluster band. This extra step can give you extra secure results.

Step 3: Applying Lash Clusters
When applying lash clusters, work in sections for the best control. You can apply it from the outer corner of your eye and move inward, or vice versa, depending on your habits. Make sure to place the clusters a few millimeters away from your waterline to avoid irritation, but close enough so that there’s no visible gap between your lashes and the clusters.

For a seamless look, slightly overlap each lash cluster. This will help create a natural, voluminous finish.
Step 4: Pinching for Precision
After placing your lash clusters, wait for the glue to dry a bit before pinching them together with your natural lashes. This will help them bond better, but be careful not to pinch too soon—if the glue is still wet, the clusters may come off when you release the applicator.

Tips and Tricks for a Perfect DIY Lash Look
- Cleanliness Matters: Oil is the Enemy. Always ensure your lashes are oil-free before applying glue. Oil can break down the adhesive, leading to premature lash loss.
- Patience is Key: Don’t rush the process. Allow the glue to dry slightly before pinching your lashes together for better hold.
- Dealing with Stickiness: Applying lash sealer to both the top and bottom lashes can effectively reduce the sticky feeling.
- Removal: It's easy to remove your lashes with a remover. Let the remover stay on the lashes for seconds, and then you can easily take them off without damaging your natural lashes.
Conclusion
Practice makes perfect. Just try it, and you can make professional-looking lashes from the comfort of your own home without the need for an appointment and a long waiting time. Whether you’re going for a special event look or just want to get daily natural lashes, this guide will help you master the process.
At Fadlash Beauty, we offer all the products you need to make your DIY lash application a breeze. For more tips and product recommendations, check out the rest of our blog. And remember, practice makes perfect! Keep experimenting until you find what works best for you. Happy lashing!


